Inverted Row: Video Tutorial & Exercise Guide
| Workout | Inverted Row |
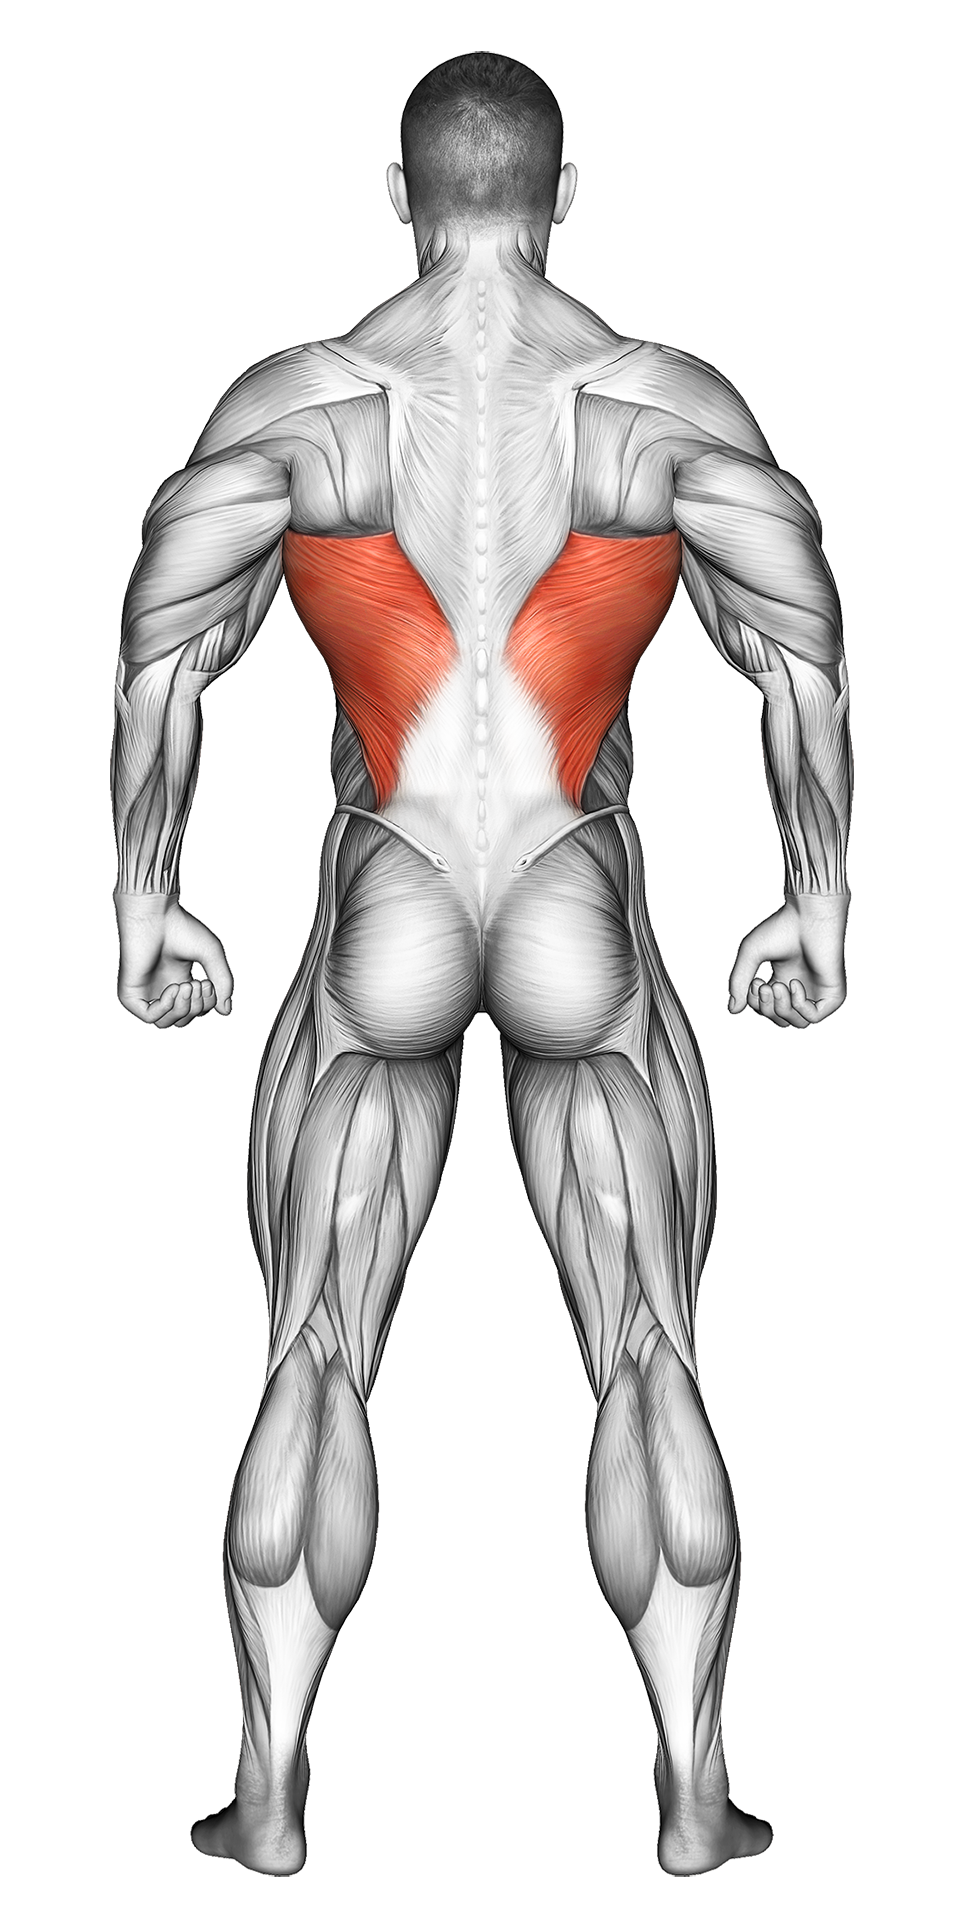
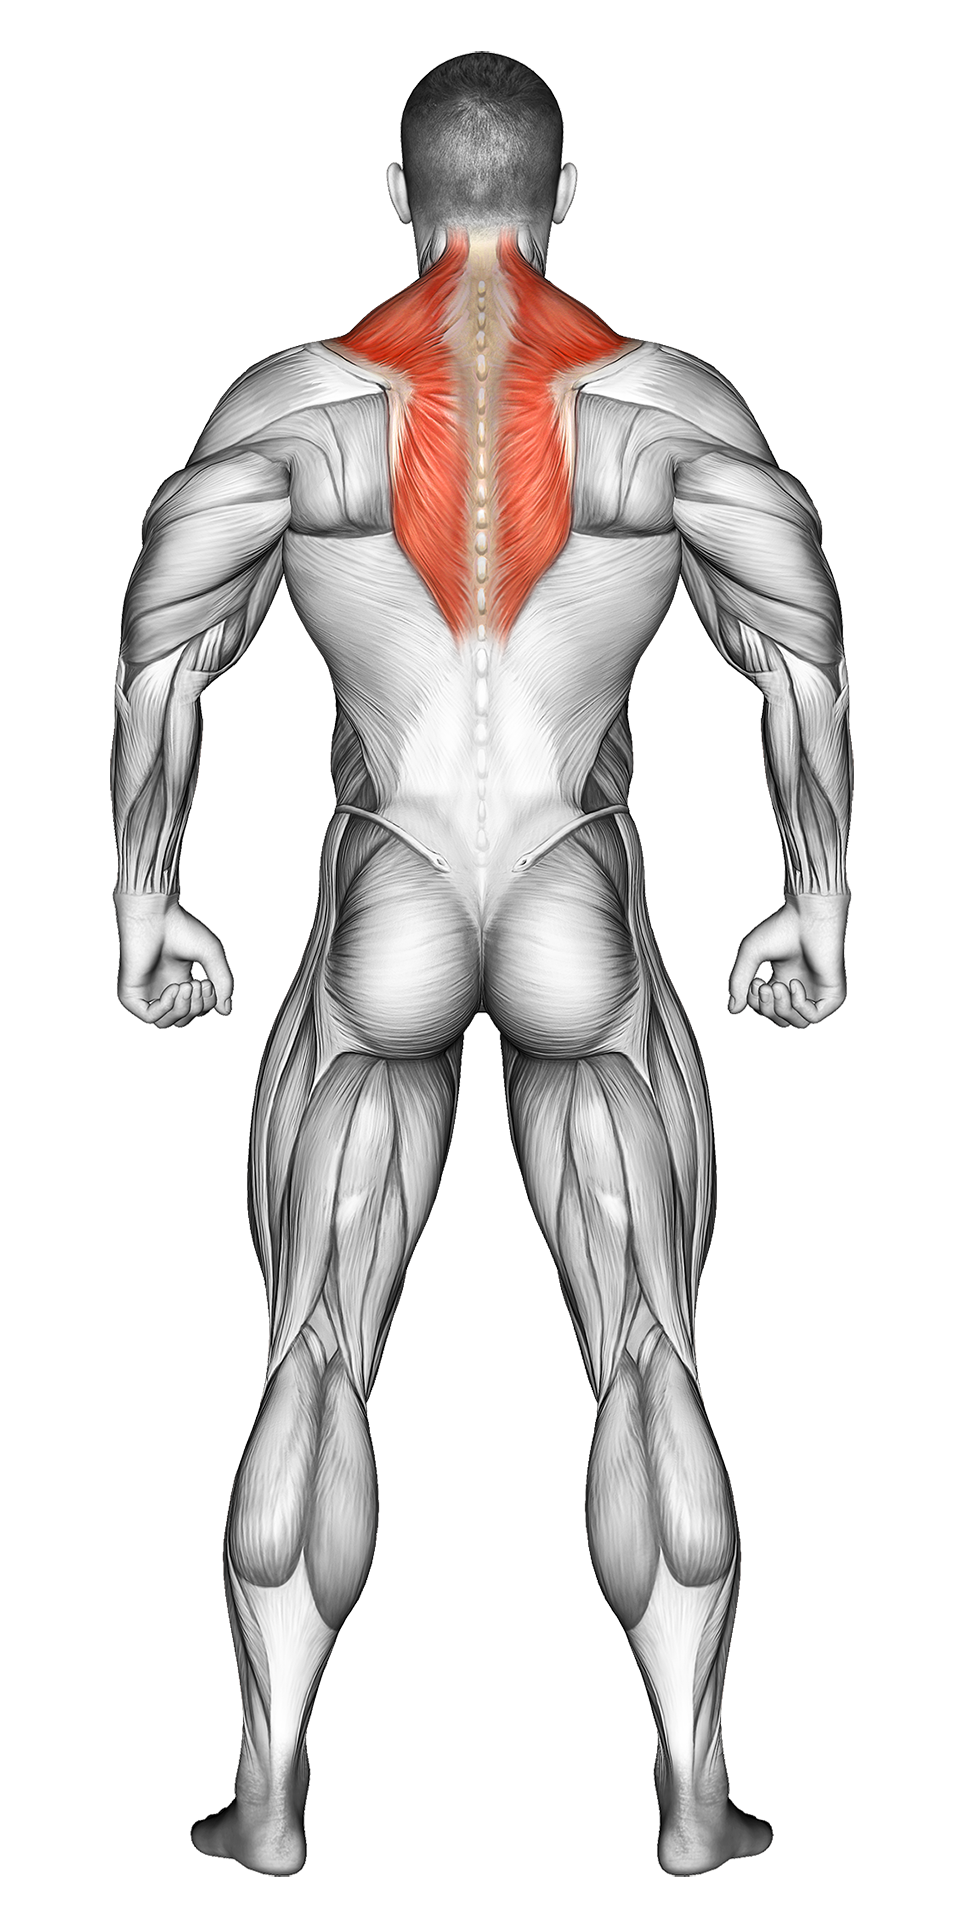
| Primary Muscle Group | Lats |
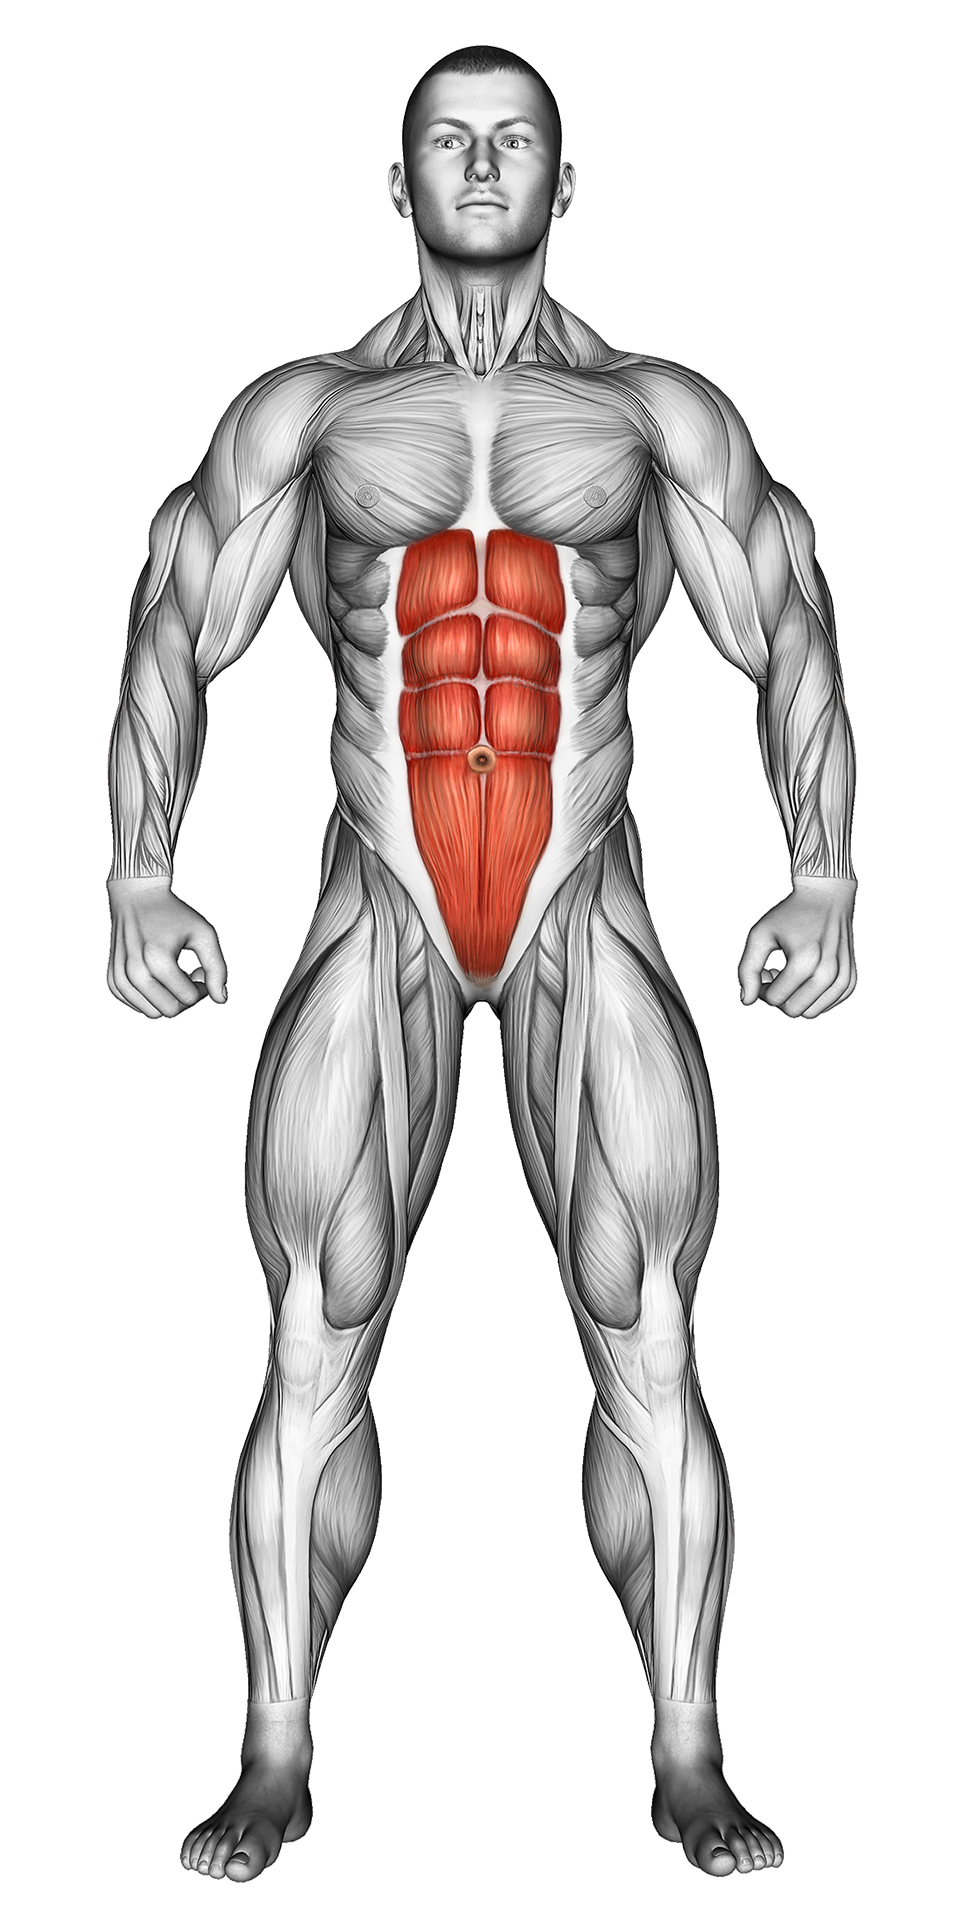
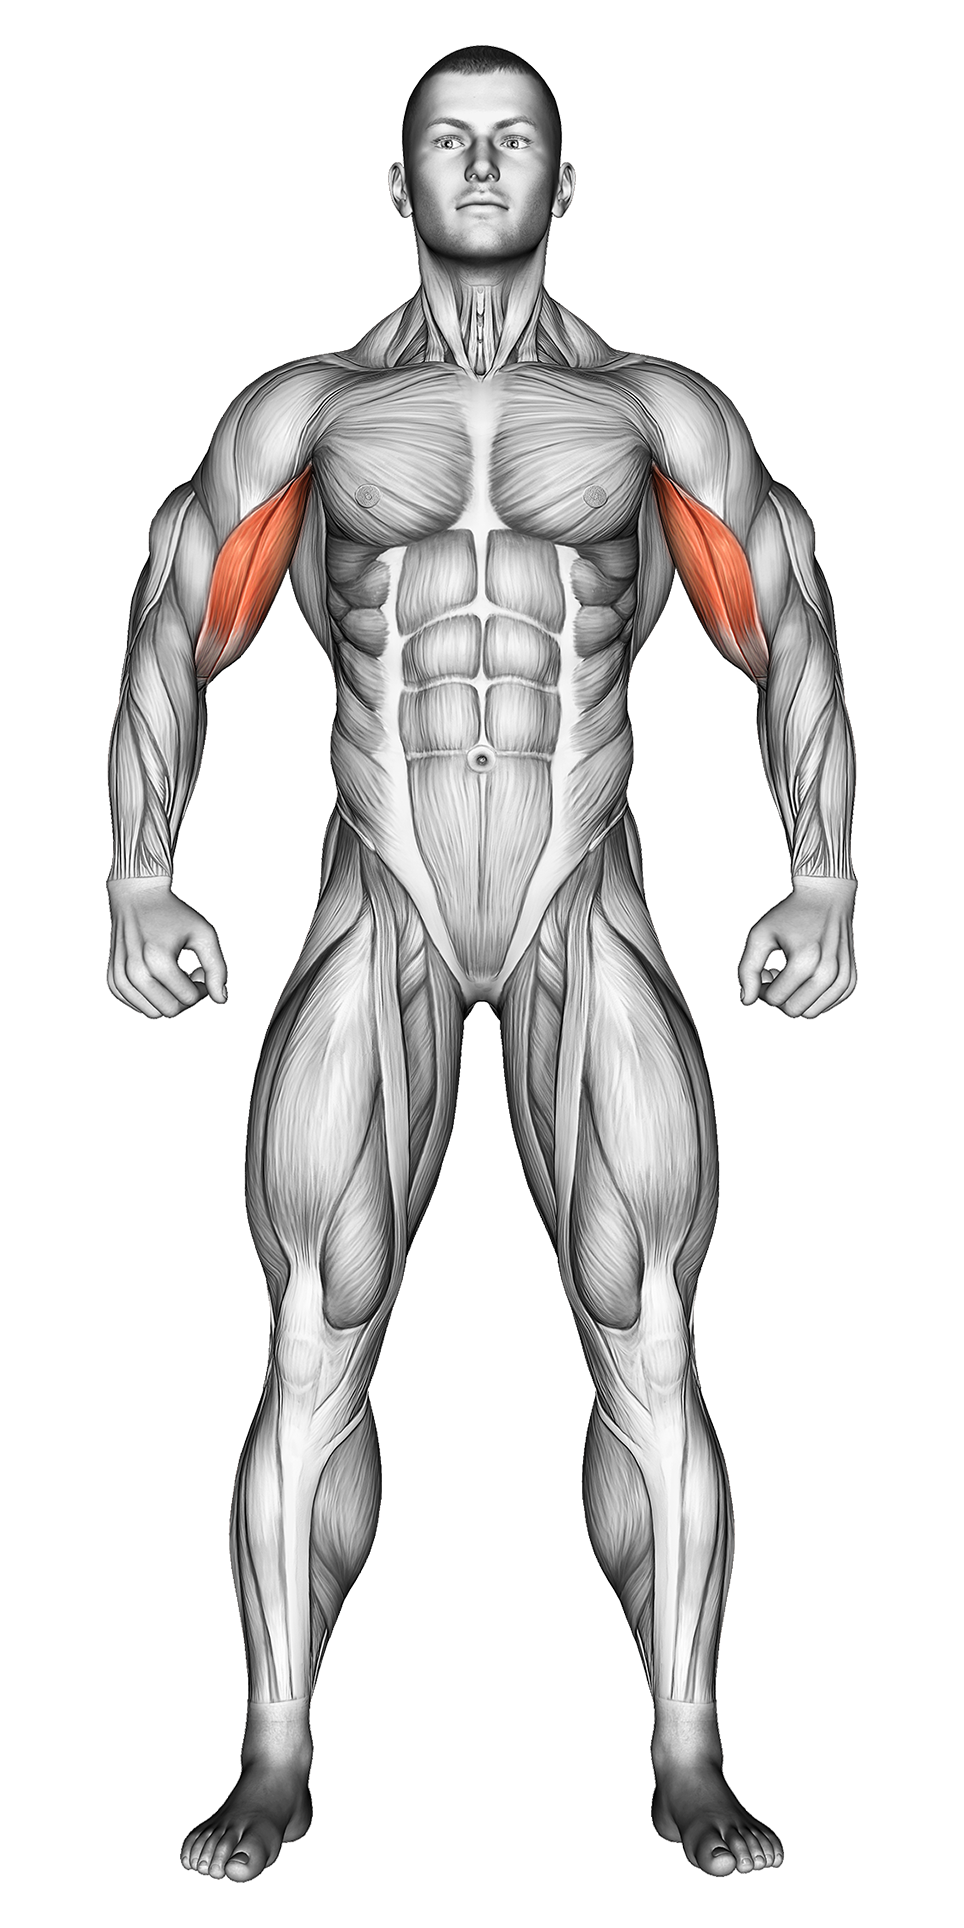
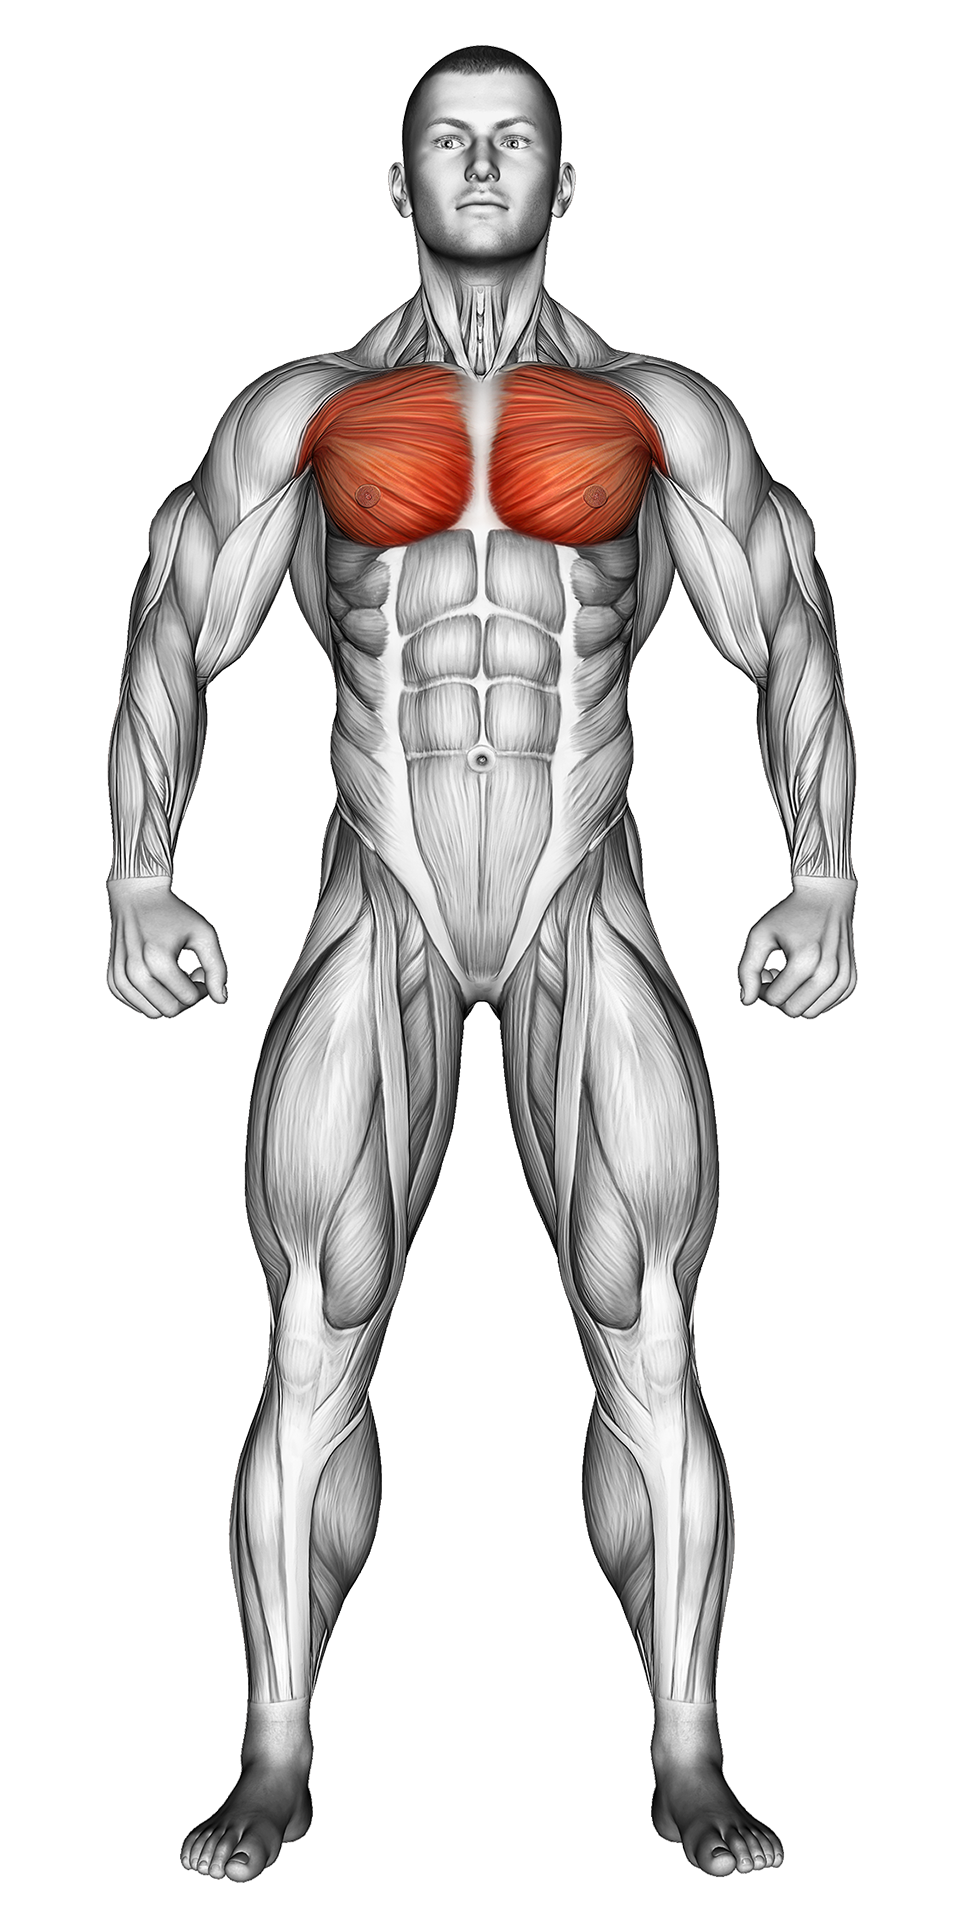
| Secondary Muscle Group | Abs, Biceps, Chest, Traps |
| Equipment Required | Smith Machine |
| Force Type | Pull |
| Mechanics | Compound |
| Exercise Type | Strength |
| Difficulty | Intermediate |
Inverted Row: Video Tutorial & Exercise Guide
How to do the Inverted Row – Step-by-Step Guide
- Step 1: Set a barbell on a rack at hip height. Alternatively, use a Smith machine or any sturdy surface that you can hang from. Lie down underneath the bar, gripping it with an overhand grip, slightly wider than shoulder-width apart.
- Step 2: Extend your legs straight out in front of you, keeping your body in a straight line from head to heels. Your heels should be resting on the floor, and your core should be tight.
- Step 3: Pull your chest up toward the bar by driving your elbows back and squeezing your shoulder blades together. Keep your body rigid and avoid sagging your hips.
- Step 4: Pause briefly at the top when your chest reaches the bar, then lower yourself slowly back to the starting position with arms fully extended.
- Step 5: Repeat for the desired number of reps, ensuring you maintain proper form by keeping your core tight and body straight.
Inverted Row Overview
The Inverted Row is a bodyweight exercise that targets the upper back, biceps, and core. It is performed by pulling yourself toward a bar while keeping your body straight, making it a great alternative to pull-ups for beginners or those looking to improve upper body pulling strength.
This exercise is scalable for all fitness levels and requires minimal equipment, making it ideal for home or gym workouts. You can adjust the difficulty by changing the angle of your body or by bending your knees to make the movement easier.
Benefits of the Inverted Row
The Inverted Row strengthens your upper back, including your lats, traps, and rhomboids, while also engaging your biceps, forearms, and core. It helps improve posture and shoulder stability, making it a great exercise for correcting rounded shoulders from prolonged sitting.
Additionally, the inverted row is a safer, more accessible option for people who are still working up to pull-ups or for those recovering from shoulder injuries. It builds the foundation for pull-up strength while improving grip strength and overall back development.
Inverted Row Pro Tips & Advanced Techniques
For best results, maintain a straight body from head to heels throughout the movement. If the exercise is too easy, raise your feet on a bench or step to increase the difficulty. To make it more beginner-friendly, bend your knees and plant your feet on the floor. Keep your elbows close to your body as you pull up, and avoid using momentum to complete the movement. Want to level up? Focus on slow, controlled reps with a pause at the top.
Progression Plan for Inverted Row
| Level | Sets | Reps | Difficulty Progression |
|---|---|---|---|
| Beginner | 3 | 8-10 | Start with knees bent and feet flat on the floor to reduce difficulty. Focus on form and control. |
| Intermediate | 4 | 8-12 | Extend your legs fully and keep your body in a straight line. Gradually lower the bar to make the movement harder. |
| Advanced | 4-5 | 10-15 | Elevate your feet on a bench or step, and slow down the negative phase to increase time under tension. |
Frequently Asked Questions (FAQs) of Inverted Row
What muscles do Inverted Rows target?
Inverted Rows primarily target the upper back, including the lats, rhomboids, and traps, while also engaging the biceps and core for stability.
How does the Inverted Row compare to a pull-up?
The Inverted Row is easier to perform than a pull-up because you’re lifting a smaller portion of your body weight. It’s a great progression exercise for building the strength needed for pull-ups.
How should I position my body during the Inverted Row?
Keep your body in a straight line from head to heels, with your core engaged. Avoid letting your hips sag or arching your back during the movement.
How often should I do Inverted Rows?
Include Inverted Rows 1-2 times per week as part of your back workout or pulling routine. They pair well with deadlifts and pull-ups for a balanced back routine.
What common mistakes should I avoid?
Avoid using momentum to pull yourself up, rounding your back, or letting your hips sag. Focus on slow, controlled reps with proper form to get the most out of the exercise.